
Last updated November 21, 2026
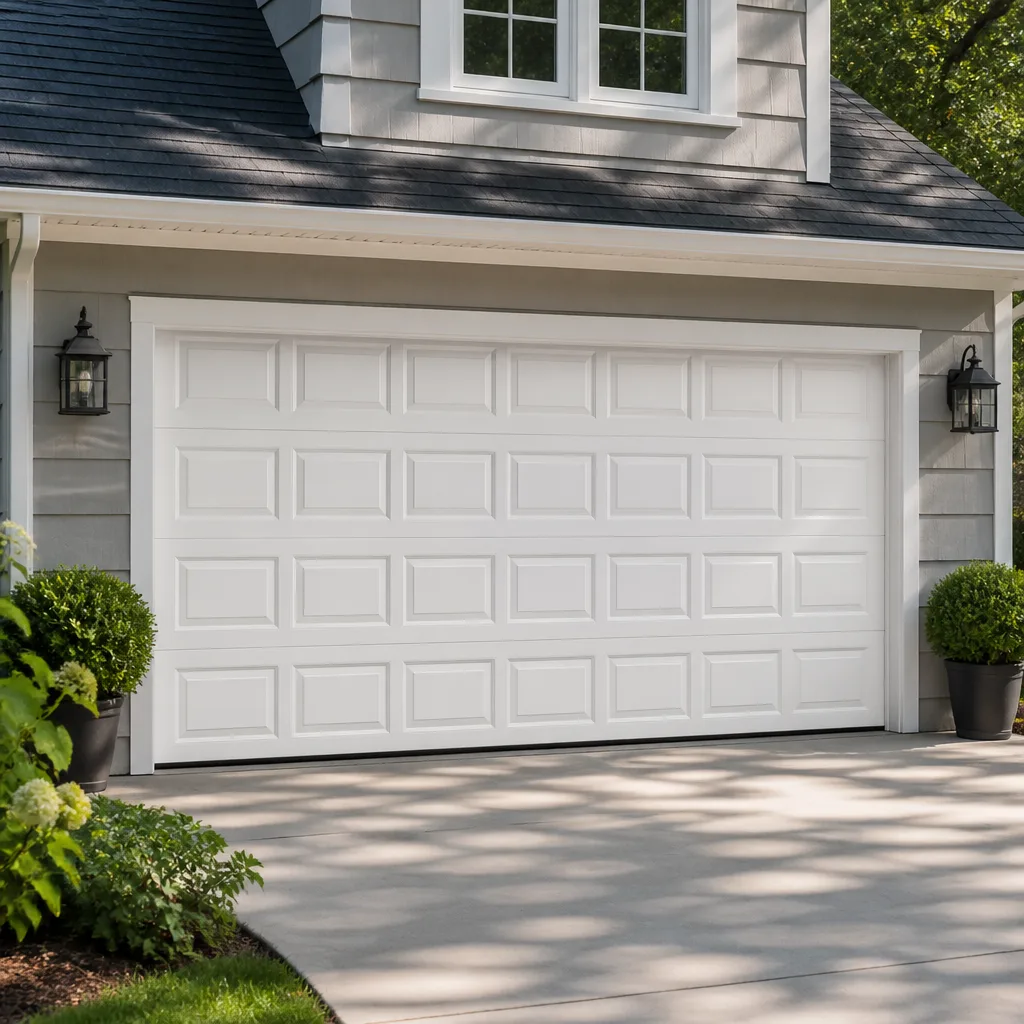 Raised-panel steel
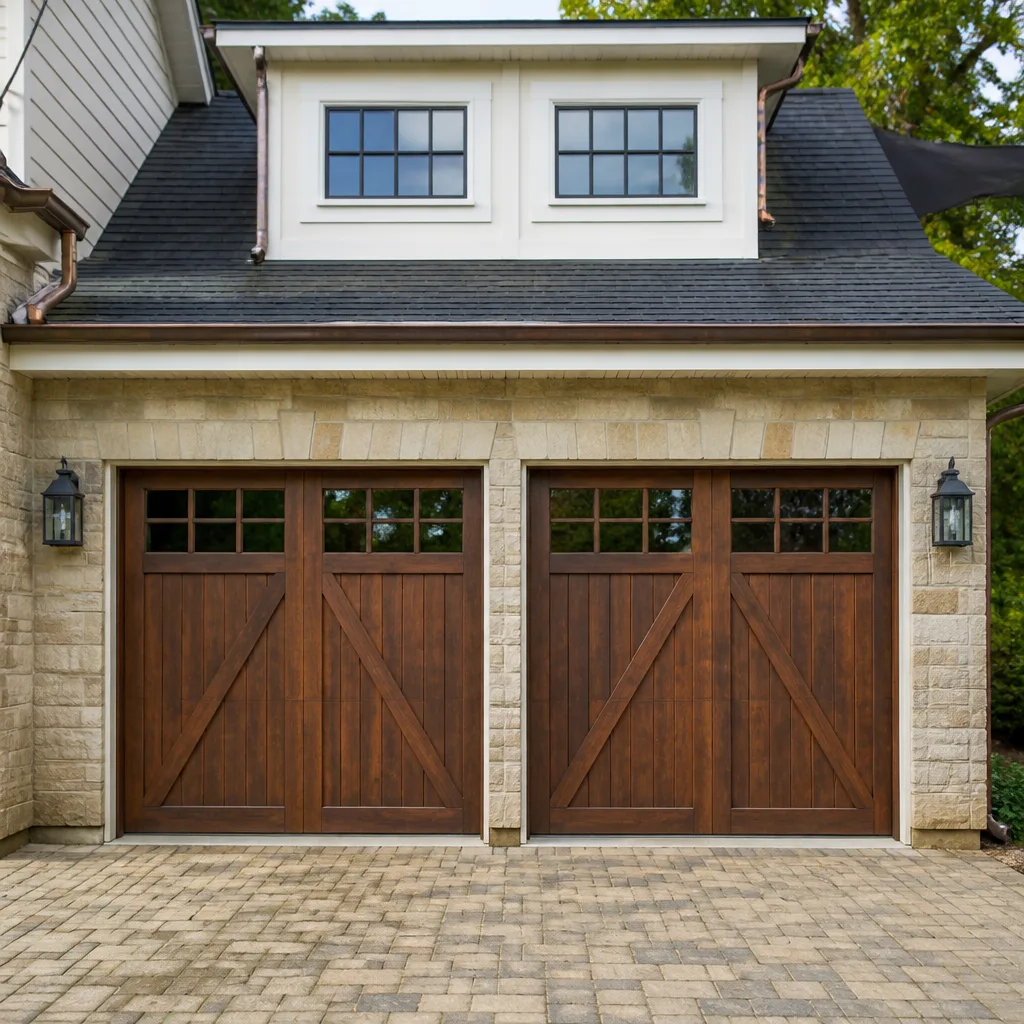 Carriage house
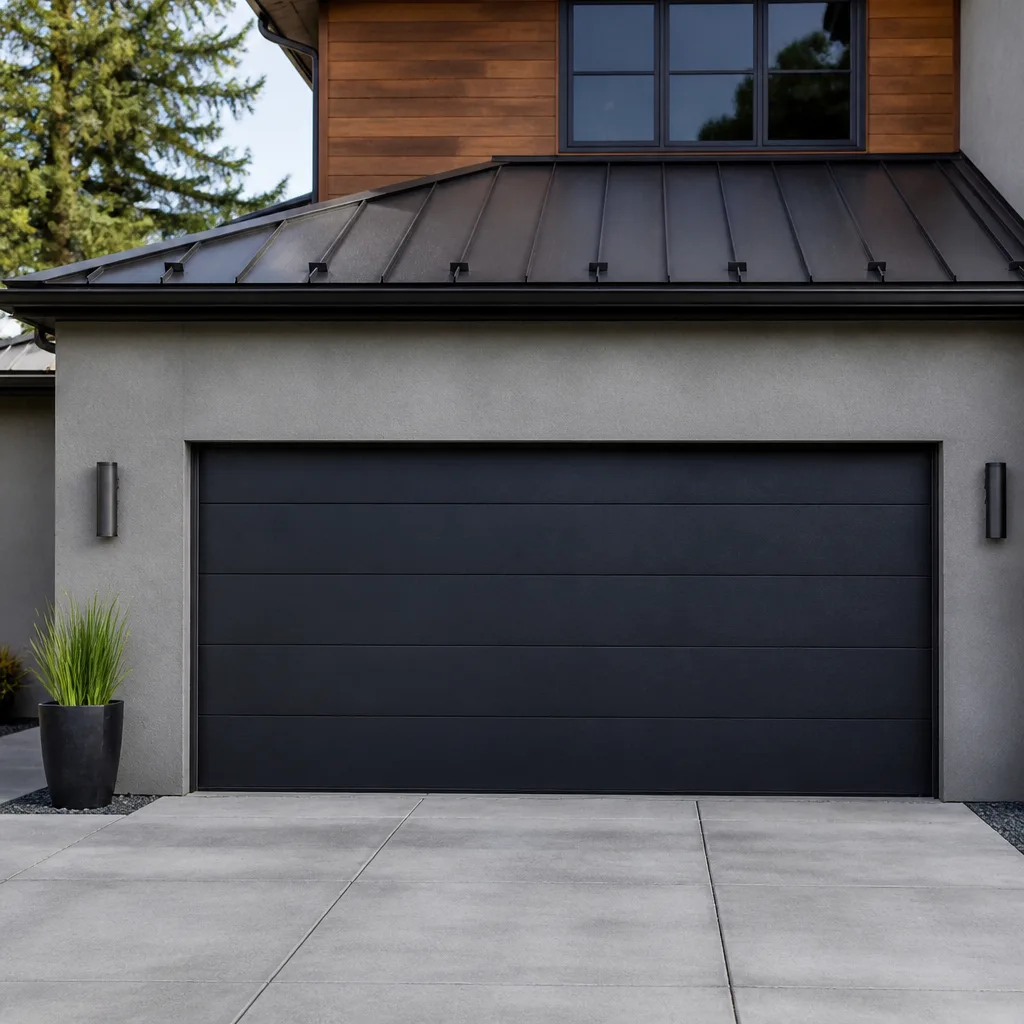 Modern flush
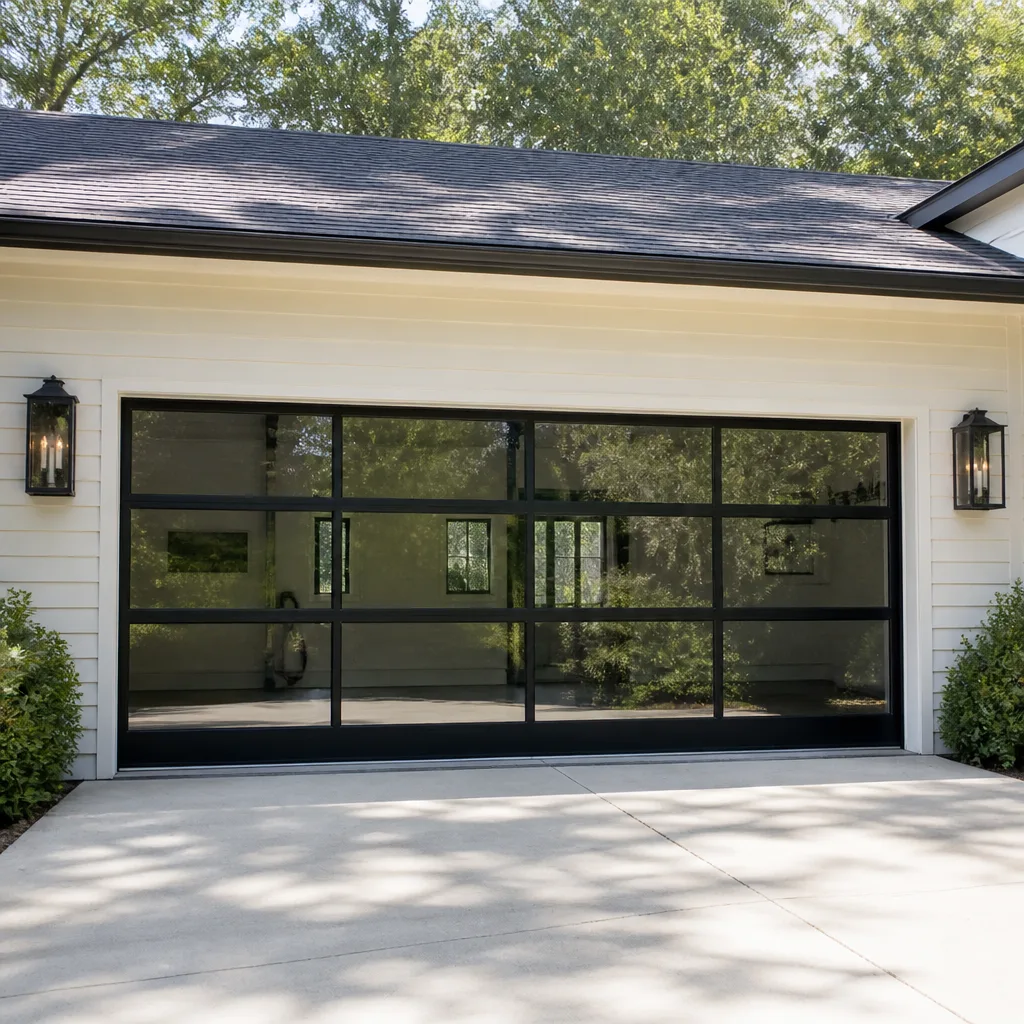 Full-view glass
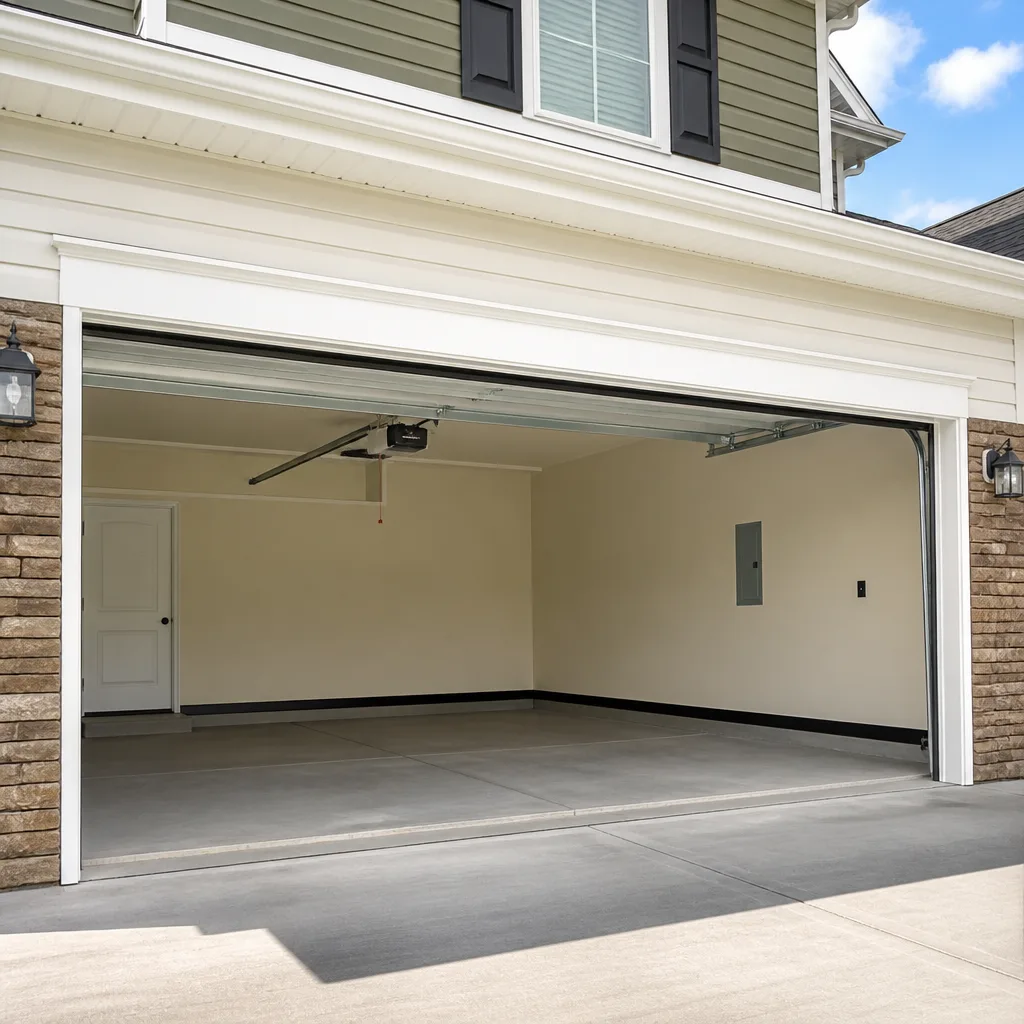 LiftMaster openers
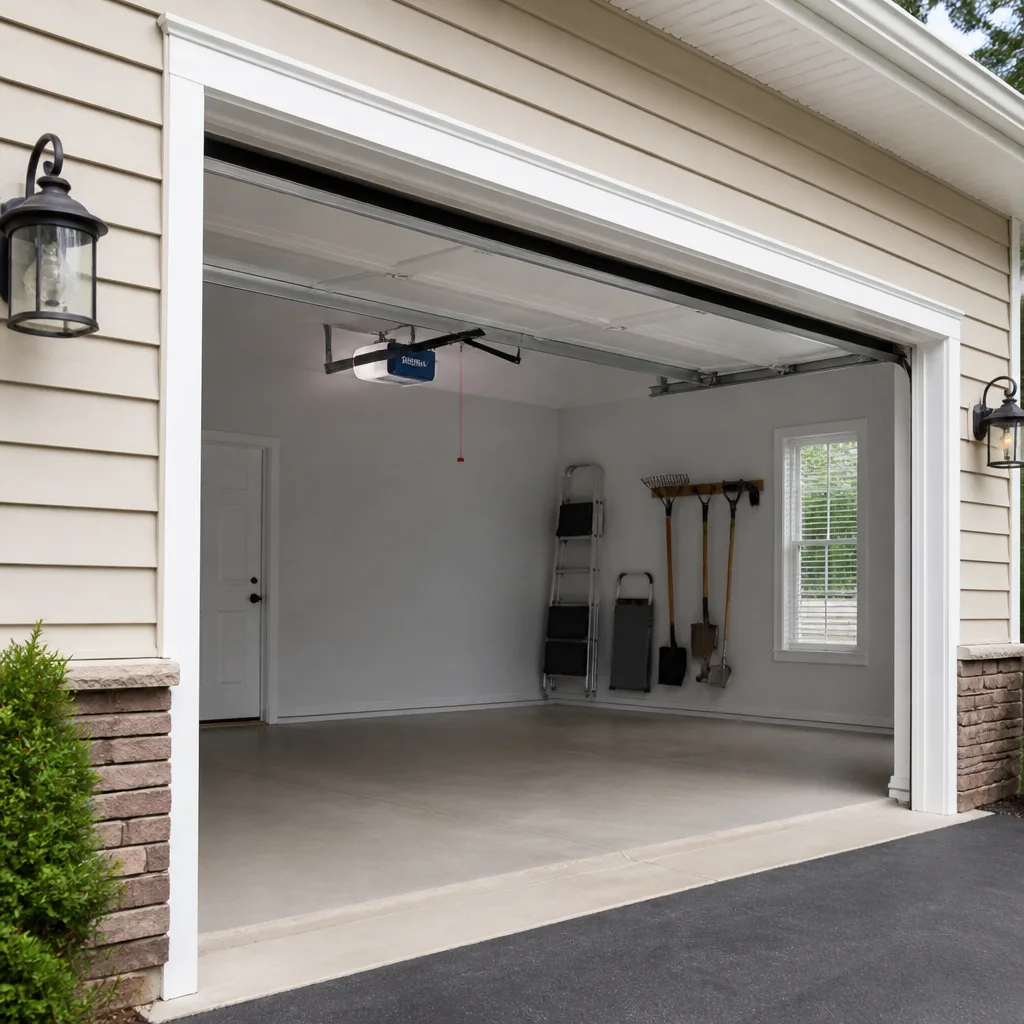 Chamberlain openers
Full 25-point door and opener safety check with every visit - springs, cables, rollers, tracks, and your LiftMaster or Chamberlain opener included
You get a price before we start. It does not change when the pro arrives.
Get your free estimateGarage Door Repair Maintenance Checklist for Silver Spring Homeowners
The call we get most often in November isn’t an emergency. It’s a door that quit because a ten-minute lubrication step got skipped in September. That’s the counterintuitive part of garage door care: most failures aren’t sudden, they’re slow. A hinge dries out. A roller flat-spots. A spring works harder than it should for months, and then one cold morning it lets go. None of that happens overnight, which means most of it is preventable. In this guide we’ve organized a real maintenance checklist around the failure patterns our technicians actually see in Silver Spring homes, sorted by what you can safely do yourself and what genuinely needs a trained pro. Bring a flashlight. Let’s get to work.
Quick Answer
A garage door maintenance checklist for Silver Spring homeowners should cover monthly safety tests (balance, reversal, auto-stop), quarterly lubrication of hinges, rollers, and springs, and a fall hardware inspection timed to catch rust from summer humidity before winter sets in. Owners can safely handle lubrication, visual checks, and the reversal test. Springs, cables, and any work with the torsion assembly belong to a trained technician – those parts are under extreme tension and can cause serious injury.
Styles & brands we work with
- Raised-panel steel
- Carriage house
- Modern flush
- Full-view glass
- LiftMaster openers
- Chamberlain openers
Table of Contents
- The Owner/Technician Dividing Line
- Monthly Safety Tests: Balance, Reversal, and Auto-Stop
- The Lubrication Routine That Prevents Most Failures
- Silver Spring Climate Checklist: Humidity, Salt, and Freeze-Thaw
- How Often to Check Based on Door Cycles, Not the Calendar
- What to Document After Every Inspection
- Opener and Electronics Checks by Brand
- Common Mistakes to Avoid
- When to Call a Professional
- Frequently Asked Questions
The Owner/Technician Dividing Line
Most checklists treat every task as equally safe. They aren’t. There’s a real line between what a homeowner can do with a rag and a can of lubricant and what can put someone in the hospital. Knowing where that line sits is the single most useful thing on this page.
Safe for homeowners:
- Wiping down hinges, rollers, and tracks with a clean cloth
- Applying a garage door lubricant to hinges, rollers, and the spring (never a grease that attracts grit)
- Running the balance test and the reversal test
- Visual inspection of panels, weatherstripping, and the photo-eye alignment
- Tightening loose bolts on the door frame and hinges (snug, not cranked)
- Clearing debris from tracks and checking that tracks are plumb
Requires a trained technician:
- Any work on torsion springs, extension springs, or the cables attached to them
- Replacing a snapped spring or a frayed cable
- Adjusting or replacing the torsion bar, drums, or winding cones
- Realigning bent track sections on the weight-bearing side
- Replacing the opener’s drive gear, logic board, or safety sensors after troubleshooting
- Any adjustment to the counterbalance system
The springs and cables are the dangerous part of this trade for a reason. A torsion spring holds hundreds of pounds of stored tension; if it releases while you’re near it, it can break bones. We list spring repair as its own specialized service for exactly this reason – it’s not a task that rewards a confident homeowner with a YouTube video. When you reach the end of the safe checklist, that’s where a professional takes over. Reaching for garage door repair before a small problem becomes a costly one is the whole point of a maintenance routine.
Monthly Safety Tests: Balance, Reversal, and Auto-Stop
Three tests, five minutes, once a month. They tell you whether the door is drifting toward failure or whether it’s healthy. Do them in daylight with nobody standing under the door.
Test 1: The balance test.
- Disconnect the opener using the manual release cord (pull straight down while the door is closed).
- Lift the door by hand to the halfway point.
- Let go. A healthy door stays put. A door that sags or slams back down means the springs have lost tension or are mismatched – a pass/fail you can read in two seconds.
- If it drops, reconnect and stop using the opener until a technician inspects the springs. Don’t try to adjust them yourself.
Test 2: The reversal test. Close the door and place a 2×4 or another firm object flat on the floor in the door’s path. Press the close button. The door should reverse on contact with the object. If it keeps pushing, the opener’s force settings are too high – a real safety issue, especially in a home where kids or pets use the driveway.
Test 3: The auto-stop / photo-eye test. With the door open, wave a hand or a dark object between the two photo-eye sensors mounted near the floor. The door should refuse to close, or reverse if it’s already moving. If nothing happens, one of the sensors is misaligned, dirty, or has a dead indicator light. Wipe the lenses first; if the light stays dark, the sensor or its wiring needs a look.
Run all three and you’ll catch the vast majority of safety problems before they become repair calls. A garage door is the largest moving part in most homes, and these tests are how you keep that moving part honest.
The Lubrication Routine That Prevents Most Failures
This is the September step that prevents the November call. Lubrication reduces friction across the door’s moving parts, which means the springs, opener, and motor all work less hard. A door that runs dry ages three ways at once: hinges seize, rollers flat-spot, and springs wear faster.
Do this quarterly:
- Get a proper garage door lubricant (a light lithium or white-lithium grease). Skip WD-40 as a lubricant and skip heavy grease that traps grit.
- Lube each hinge at its pivot points – a small dab, not a pour.
- Lube each roller’s stem (not the roller’s outer surface, which rides the track).
- Lubricate the torsion spring with a light coat – a technician’s spring is the only moving part you should touch here, and only with lubricant, never a tool.
- Wipe the tracks with a dry cloth. Never oil or grease the tracks – they’re meant to stay dry so the rollers can roll rather than slide.
- Open and close the door a couple of times to spread the lubricant.
Don’t: spray lubricant on the photo-eyes (it smears the lenses), grease the opener rail beyond the manufacturer’s spec, or lube the belt or chain drive with anything the opener maker didn’t recommend. A LiftMaster or Chamberlain opener, for example, has specific rail-lubrication guidance in its manual – follow the maker, not the internet.
In our experience, a door that gets a quarterly lube job is far less likely to call out for a stuck roller, a grinding opener, or a snapped spring than one that’s never been touched. It’s the cheapest maintenance you’ll ever do.
Silver Spring Climate Checklist: Humidity, Salt, and Freeze-Thaw
Silver Spring has a specific maintenance rhythm that generic checklists ignore. Our summers are humid, our winters bring road salt and freeze-thaw swings, and the combination works on metal hardware in ways a manufacturer’s copy-paste list never addresses.
After summer (late August into September):
- Check every hinge, roller stem, and bracket for rust – high humidity accelerates surface corrosion, and a rusting hinge grinds its pivot.
- Look at the bottom of the door and the base of the track for bubbling paint or orange dust – early rust is easy to catch, late rust means replacement.
- Inspect the weatherstripping along the bottom and sides for gaps; humid air and summer storms work their way in.
- Wipe down the tracks and check that no rust has formed where rollers ride.
After winter (late February into March):
- Look for salt residue on the bottom brackets, the lowest rollers, and any part near the driveway. Road salt tracked onto the apron splashes up and speeds corrosion; rinse it off with plain water and dry it.
- Check for freeze-thaw damage – small cracks or chips in the bottom panel where meltwater has frozen and expanded.
- Confirm the door still passes the balance test after the coldest stretch; a door that struggled through the cold may have weakened springs.
- Re-lubricate after any salt cleanup – salt strips lubricant as surely as it strips paint.
Hail is uncommon here, so we focus on the slow weather we do get: humidity in the summer and salt in the winter. Neighborhoods closer to the tree canopy – think the areas around Sligo Creek and the older streets off Georgia Avenue – also see more debris in the tracks, which is another reason to clear them quarterly. That’s the Silver Spring-specific layer most generic checklists skip entirely.
How Often to Check Based on Door Cycles, Not the Calendar
A checklist tied only to months is measuring the wrong thing. A garage door’s real wear comes from cycles – one full open and one full close. A two-car household that opens and closes the door a dozen times a day puts far more wear on the door than a single person who’s out once a morning. So the sensible schedule is built on cycles first, calendar second.
Cycle-based schedule:
- Under ~1,000 cycles/year (light use, one or two people): monthly safety tests, quarterly lubrication, two full hardware inspections a year (fall and spring).
- ~1,000 – 2,500 cycles/year (typical family use): monthly safety tests, lubrication every other month, a full inspection each quarter.
- Over ~2,500 cycles/year (heavy use, multi-driver home, home business): monthly tests plus monthly spot-checks of hinges and rollers, lubrication every month, a professional inspection twice a year.
Add a check any time:
- The door sounds different – grinding, scraping, or a thunk at the end of travel
- The door reverses or stops partway through its travel
- You’ve had a stretch of very cold weather or a big humidity spike
- The opener’s lights blink in a pattern that wasn’t there before
If you don’t know your cycle count, estimate from habit: count the times the door goes up and down on a normal day, then multiply by 365. That number tells you how aggressive your schedule should be, which is more useful than a generic “check every six months.”
What to Document After Every Inspection
This is the step almost nobody does, and it’s the one that pays off over years. A maintenance log lets a technician spot trends across service visits instead of treating each call as a fresh problem. We can look at the notes from the last three visits and tell whether a door is slowly going out of balance or whether a single event caused the issue.
Keep a simple log and record:
- Date of each inspection and who did it (you or a technician)
- Result of the balance test – pass, slight sag, or fail
- Result of the reversal test and the photo-eye test
- Which parts were lubricated and when
- Any noise, grinding, or odd behavior you noticed since the last entry
- Any rust or salt damage you found and where
- Parts replaced, by name (spring, roller, hinge, opener part), and the brand
- Opener brand and model number – LiftMaster, Chamberlain, Genie, Raynor, and the rest each have their own quirks, and a technician who knows the brand arrives ready
A photo of the hardware after each cleanup is worth more than a paragraph. If a bracket is slowly bending, the before-and-after shots will show it. When you call for service, read the log to the technician or text a photo; it turns a diagnostic visit into a targeted repair. That’s the difference between a technician who has to figure out your door from scratch and one who walks in knowing what’s already been checked.
Opener and Electronics Checks by Brand
The mechanical side of the door is half the system; the opener is the other half, and it needs its own short checklist. These are the checks that catch opener trouble before it strands you.
Monthly opener checks:
- Test the wall control and each remote – a remote that’s gone weak is usually a battery, not a failing opener.
- Watch the opener’s indicator lights or listen for a beep pattern; each brand codes its faults differently, and the manual (LiftMaster and Chamberlain alike) tells you what the pattern means.
- Confirm the safety sensors’ indicator lights are solid, not blinking.
- Listen at the end of travel for a hard stop or a bounce – the opener should ease into open and closed positions, not slam.
- Check the manual release cord works and re-engages cleanly.
Yearly opener checks:
- Look at the drive belt or chain for fraying, slack, or wear. A worn belt on a Chamberlain or Genie unit often shows up as a grinding sound first.
- Confirm the opener’s force and travel limits are still correct – don’t adjust these by guesswork; if the door doesn’t close flush, that’s a call for garage door opener repair rather than a DIY tweak.
- Clear the opener’s memory of any remotes that no longer belong to the household and re-pair only the ones you use (a quick security habit).
Most opener failures we see trace back to one of two things: a door that’s out of balance (so the opener is doing work the springs should do) or a part that wore out. The monthly checks above catch both before they turn into a “the door won’t open at all” morning.
See the difference
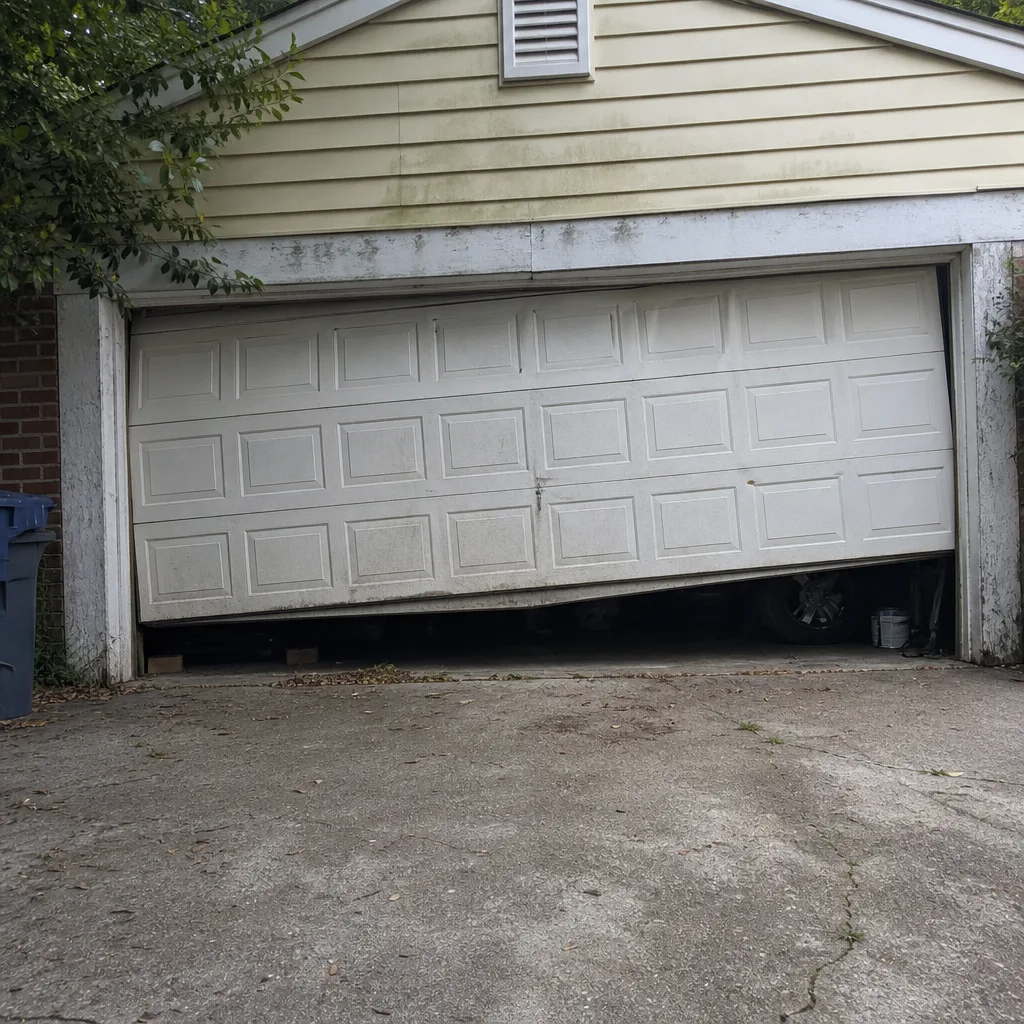 Before
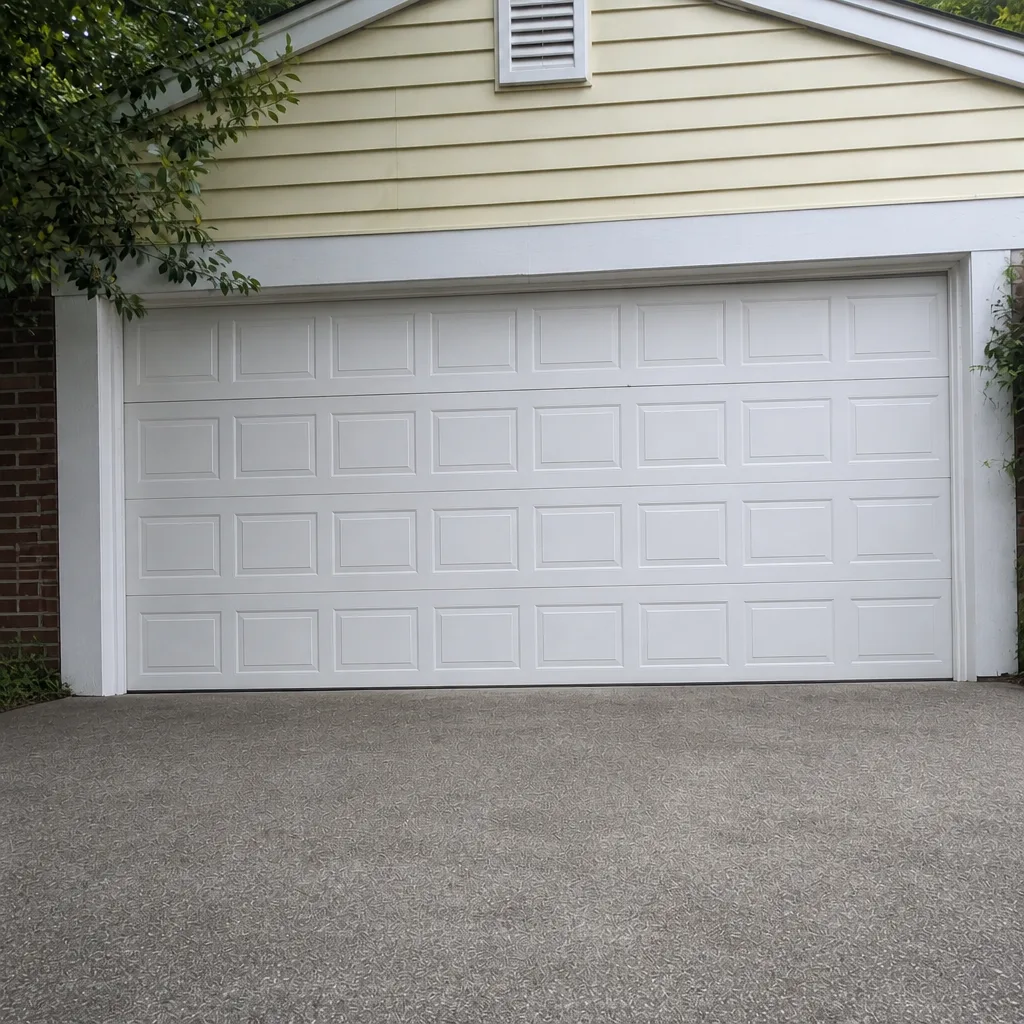 After
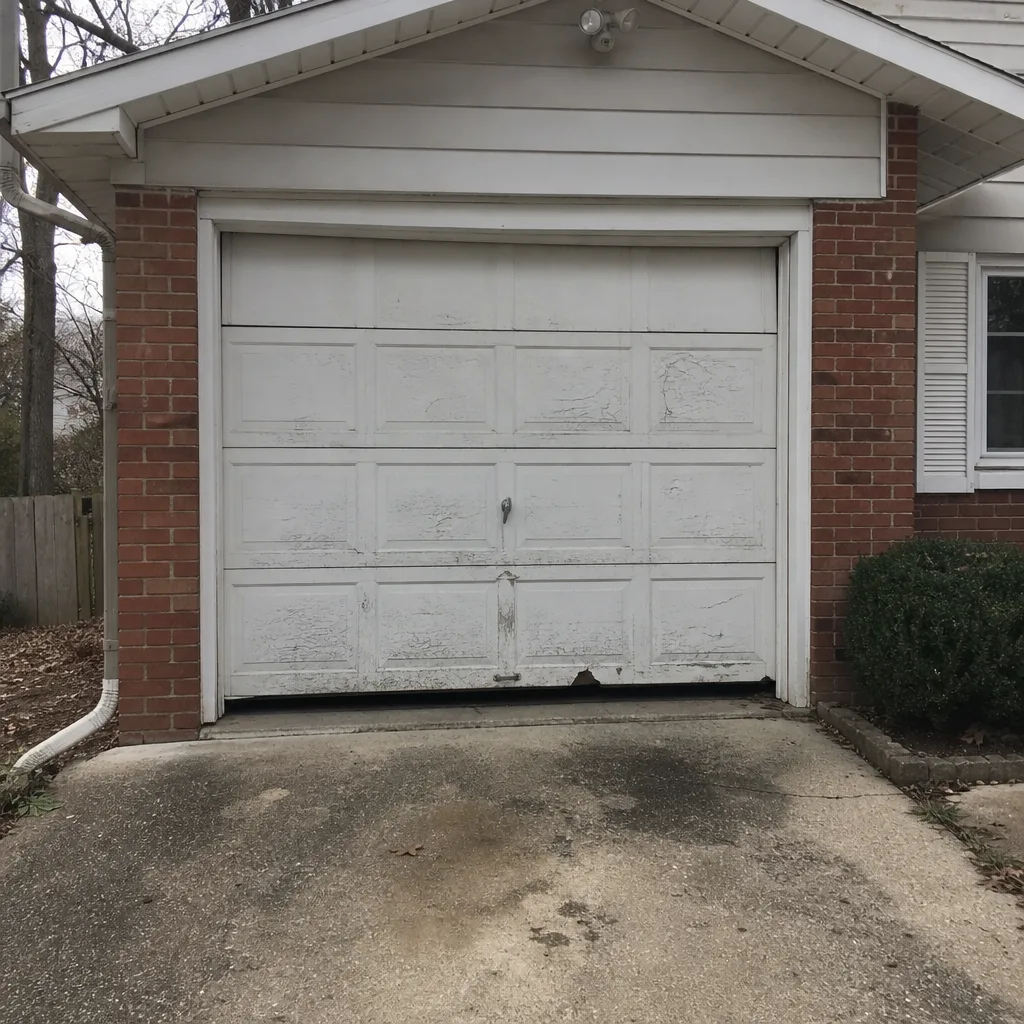 Before
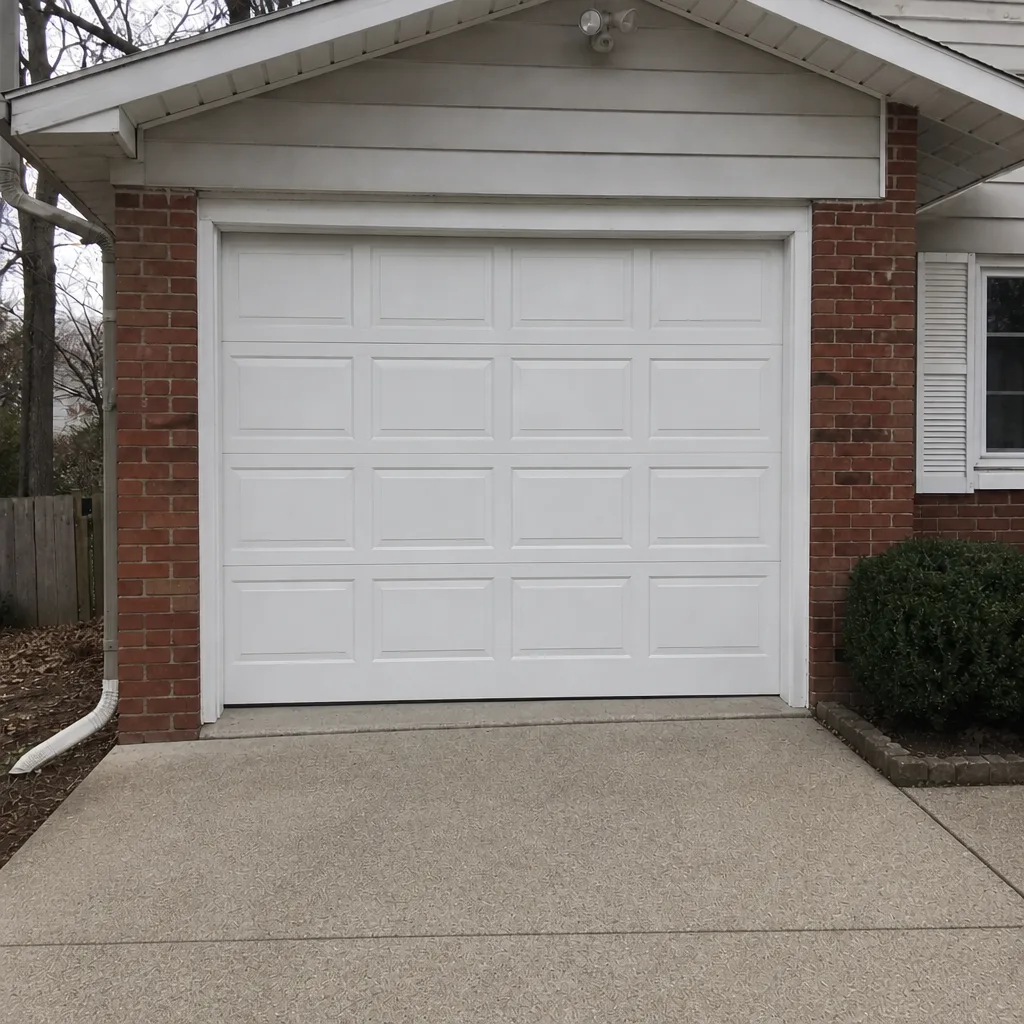 After
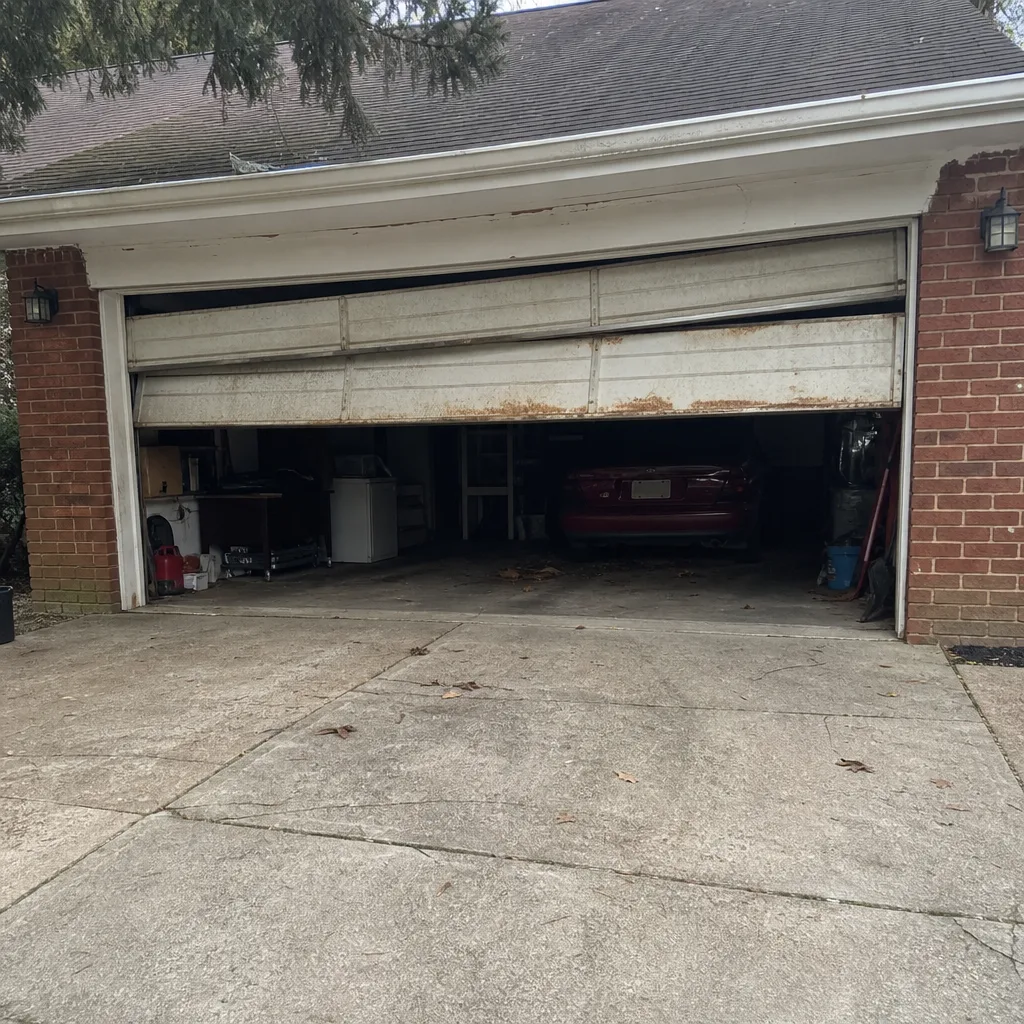 Before
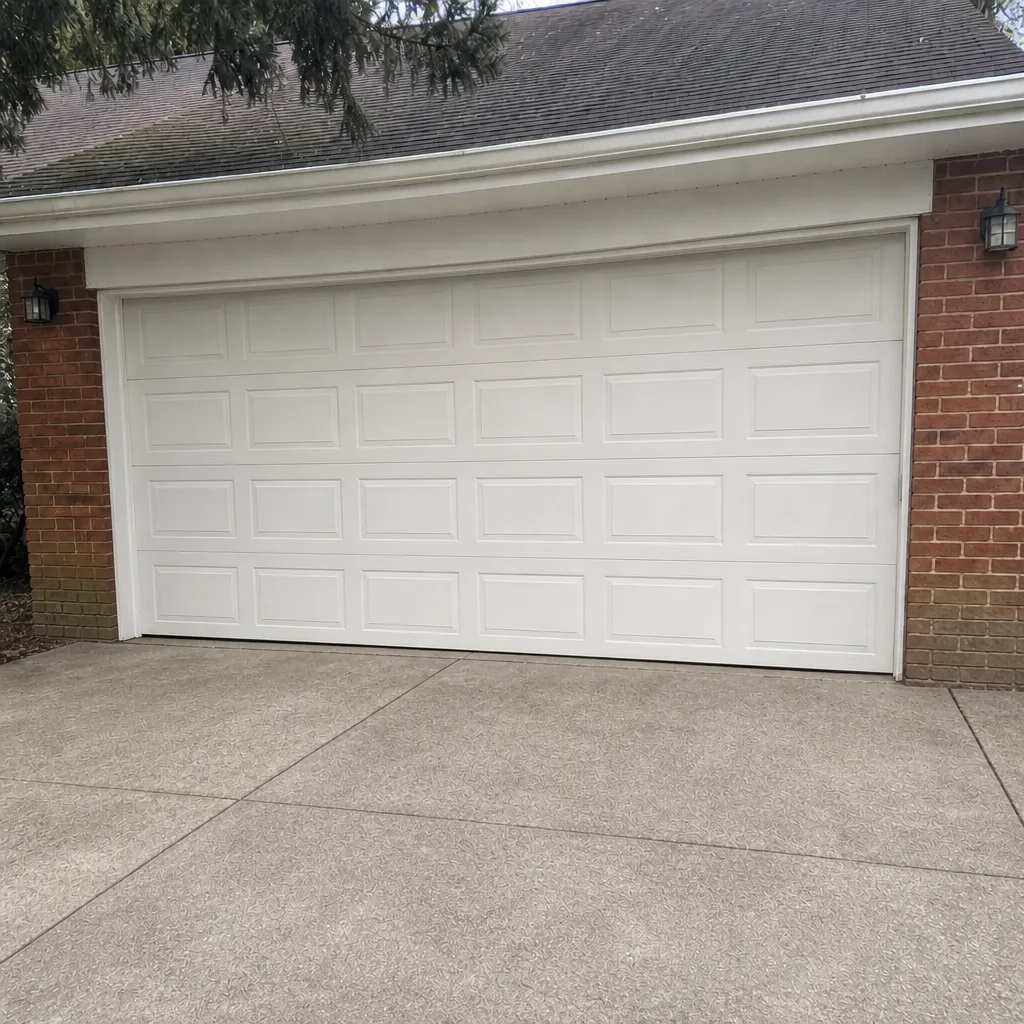 After
Common Mistakes to Avoid
- Adjusting the torsion springs yourself. The springs hold enormous stored tension, and a slip can break an arm. This is the single most dangerous mistake on this list and the reason our garage door spring repair is handled by trained technicians, not homeowners with a wrench.
- Greasing the tracks. Tracks should stay dry. Grease collects grit and turns the rollers into sandpaper. Lubricate the rollers’ stems, not the rails.
- Using WD-40 as a long-term lubricant. It’s a penetrant, not a lasting grease, and it dries out hinges. Use a proper garage door lubricant.
- Skipping the balance test because the door “seems fine.” A door that sags slowly will eventually stress the opener. The test takes under a minute.
- Ignoring winter salt on the bottom brackets. In Silver Spring, salt tracked from the driveway speeds corrosion on the lowest hardware. Rinse and dry it each spring.
- Raising the opener’s force setting to make a sticking door close. That masks a mechanical problem and defeats the safety reversal. Fix the cause, not the symptom.
- Replacing a whole opener when a sensor is misaligned. Photo-eye sensors get knocked out of line all the time. Check alignment and lenses before assuming the opener is dead.
When to Call a Professional
Some problems reward a phone call over a weekend project. Call a professional when the balance test fails or a spring looks broken; when you hear a loud snap from the door; when a cable is frayed or hanging loose; when the door comes off its track or hangs unevenly; when the opener runs but the door doesn’t move; or when a reversal or auto-stop test fails and troubleshooting the sensors doesn’t fix it. Any of those is a sign to stop using the door and get eyes on it. A door stuck open is a security problem, and a door hanging by one cable is a safety risk. We offer free estimates in Silver Spring – call (877) 357-8434. We answer 24/7. Fast dispatch from 7am to 7pm, Sunday through Friday, and a written price before any work starts.
Frequently Asked Questions
Run the safety tests monthly, lubricate quarterly, and do a full hardware inspection twice a year – fall and spring. If your door gets heavy use, tighten the schedule: lubricate every other month and inspect each quarter. The right frequency is driven by open-and-close cycles, not just the calendar.
You can apply a light coat of garage door lubricant to the spring, but you should never adjust, wind, or touch a spring with a tool. The springs hold dangerous stored tension. Lubrication is safe; adjustment is a job for a trained technician. If a spring looks broken or the balance test fails, stop using the door and call for service.
Disconnect the opener, raise the door halfway, and let go. Pass means the door stays in place. Fail means it sags or drops back down, which points to weak or mismatched springs and should be looked at before the door is used again.
Cold weather stiffens lubricant, contracts metal, and puts extra load on the springs, and Silver Spring’s freeze-thaw swings expose any weak point. A door that passed the balance test in October can fail it in January. Re-test after the coldest stretch and re-lubricate after any salt cleanup.
Yes – the blinking pattern is the opener’s way of telling you what’s wrong, and each brand codes faults differently. Check the manual, then test the safety sensors and the balance of the door. If the code points to a part, that’s a call for garage door opener repair rather than a guess.
Keep a short log: date, balance test result, photo-eye test result, what was lubricated, any rust or salt damage, and any parts replaced by name and brand. A photo of the hardware after each cleanup helps a technician see trends across visits. If you don’t keep a log, just describe the most recent symptoms when you call; it saves diagnostic time.
The Bottom Line
Garage door maintenance isn’t about a long list of tasks – it’s about a short list done consistently and a clear sense of where your safe work ends. Do the monthly safety tests, lubricate quarterly, watch for Silver Spring’s summer humidity and winter salt, and keep a log. Leave the springs, cables, and torsion assembly to a trained technician. Our technicians have up to 8 years of experience, and we work the brands you already own – LiftMaster, Chamberlain, Genie, Raynor, and the rest – which means a service call is spent on your door, not on figuring it out. When you’re ready to hand off the heavy work, Silver Spring Garage Door Repair is one call for springs, openers, and panels alike. Call (877) 357-8434 for a free estimate. We answer 24/7. Fast dispatch from 7am to 7pm, Sunday through Friday.
Written by the team at Silver Spring Garage Door Repair.